
Doesn't this bracelet look fantastic? Firstly, I love this pattern from the Made by Mommy blog called the Daisy Chain. This pattern can be found here. I change it a little bit when I make it though; I double the rubber band that goes between the daisy chains simply for personal preference and the other thing I do, of course, is add a button for the closure.
In my previous post I showed how to add a button to close the fish tail bracelet and now I'll show you how I use buttons to close other bracelets.

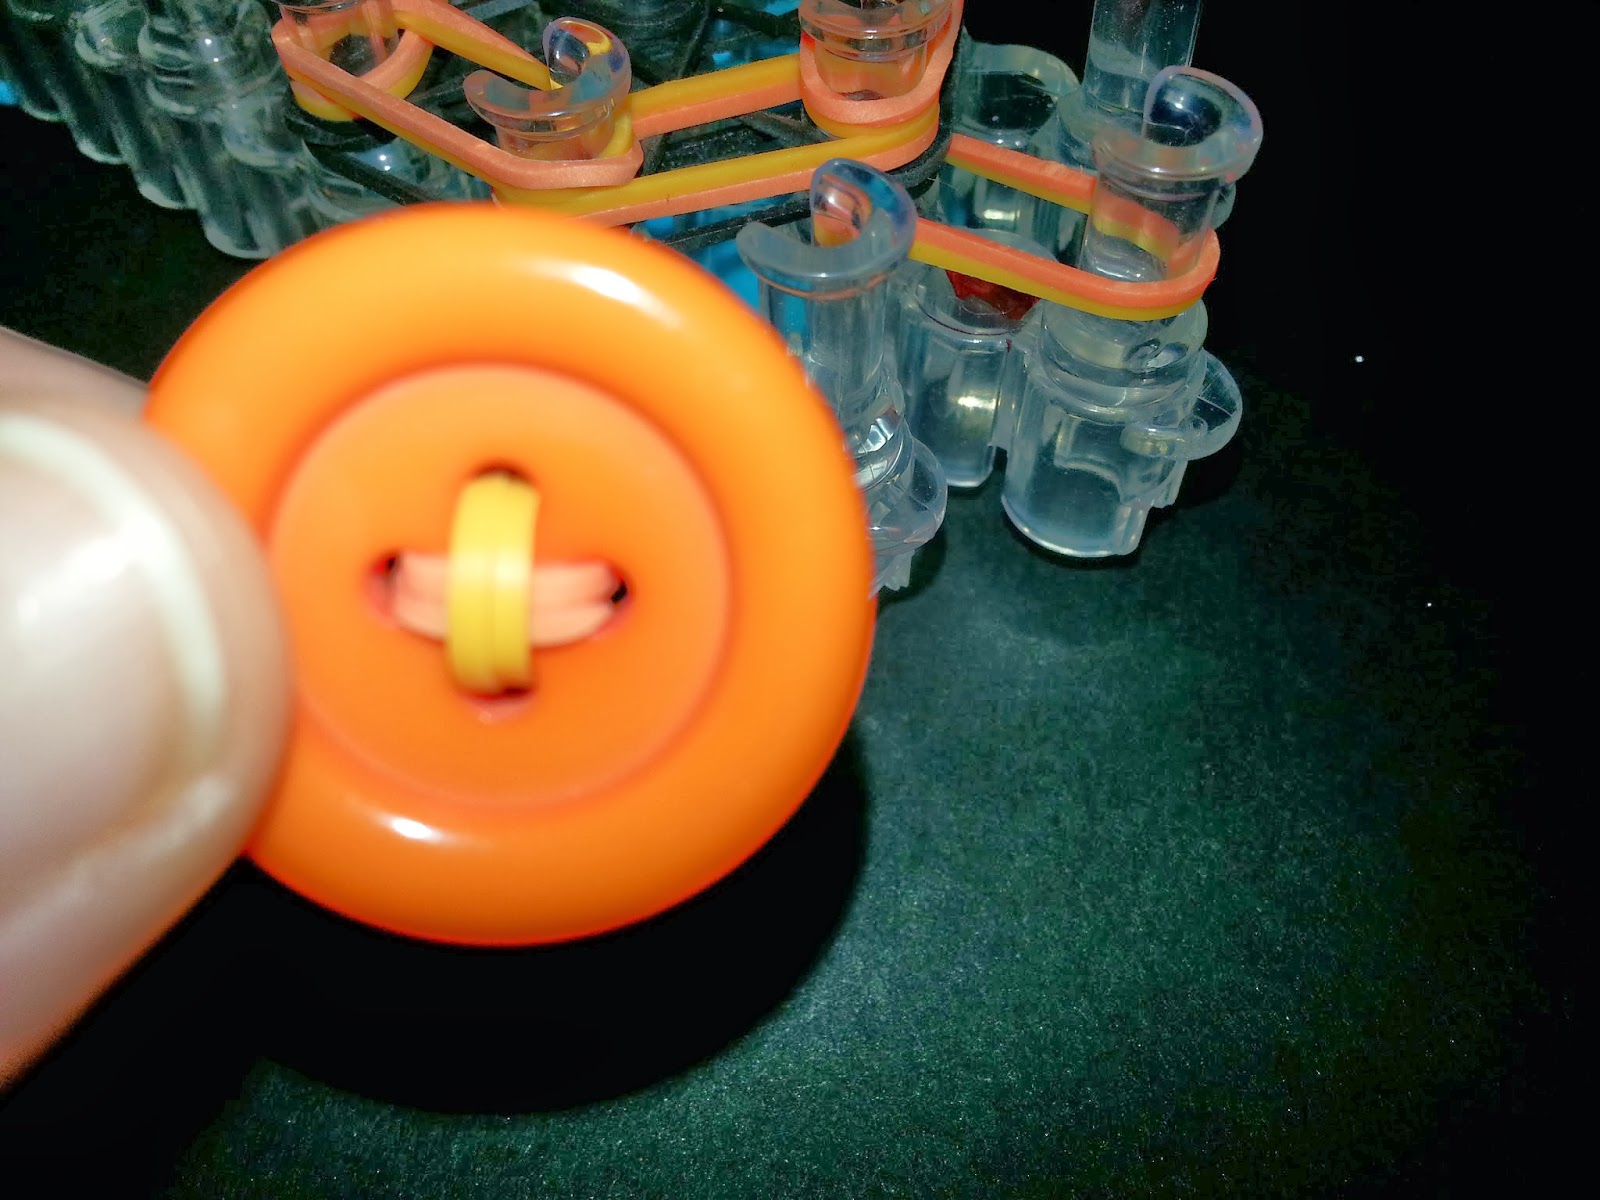
1. In the picture to the left I have already placed all the rubber bands for the bracelet. Now I need to add the button. This button has 4 holes, so I'm going to use 2 rubber bands to attach it to the bracelet.

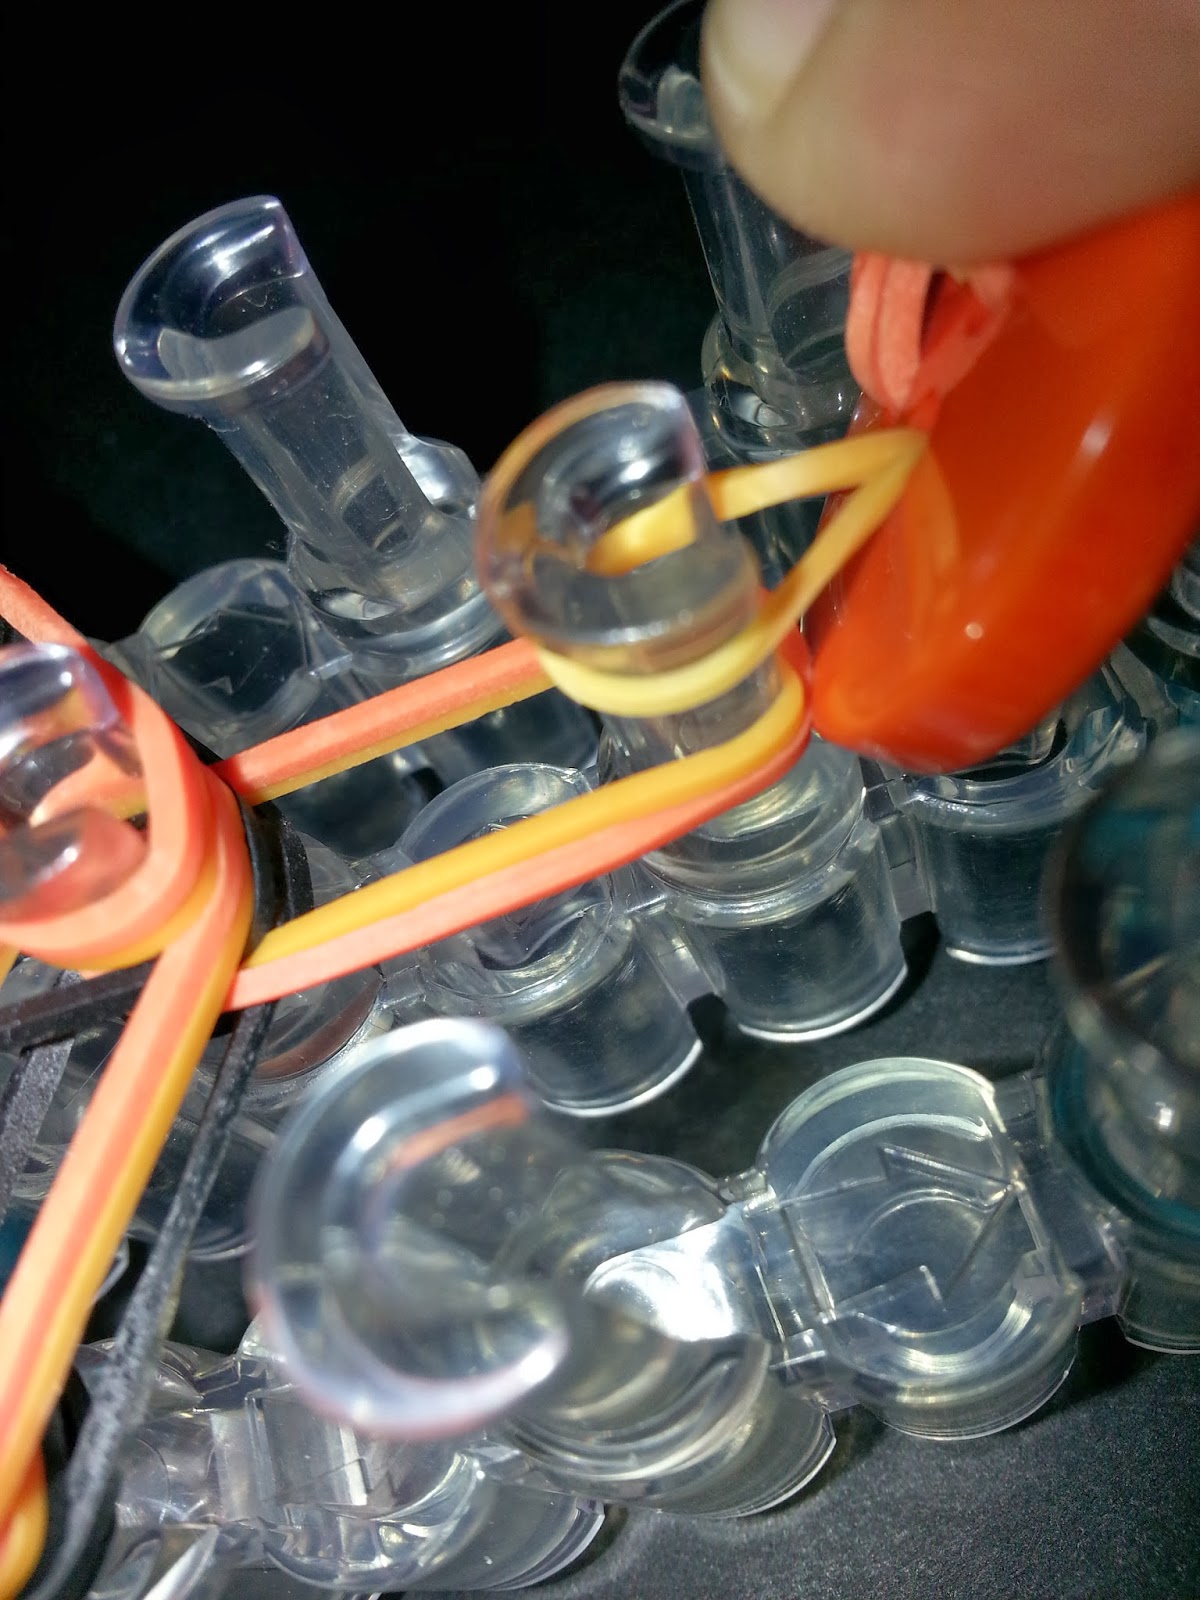
2. Here I'm using a steel crochet hook to pull the rubber band through since it's the holes are too small to push the rubber band through.
3. I like to cross the rubber bands when I pull them through, but you can just go up and down too or just use only one rubber band instead of 2. It's whatever you prefer.
 |
| (1) |
 |
| (2) |
4. On the end of the bracelet that you would start looping (opposite end from red arrow) you will attach the button to the loom. Images 1-3 show how I added mine. Once that is done, you can loop the rubber bands like normal and then pull the finished end over the button to close it.
 |
| (3) |
 |
| Another view |
Any bracelet that you want to add a button to can be done by adding a "button cap" to the beginning of it. You can use one or multiple buttons. I will show you how to do that in another post. I hope this helped and that you love it as much as I do! And I haven't forgotten about sharing my new bracelets with you, they're coming!
No comments:
Post a Comment